I sold out of my first batch of SquishBoxes, which I built by hand using standard perfboard, so I decided it was time to get a little more serious about the hardware and have some actual PCBs made.
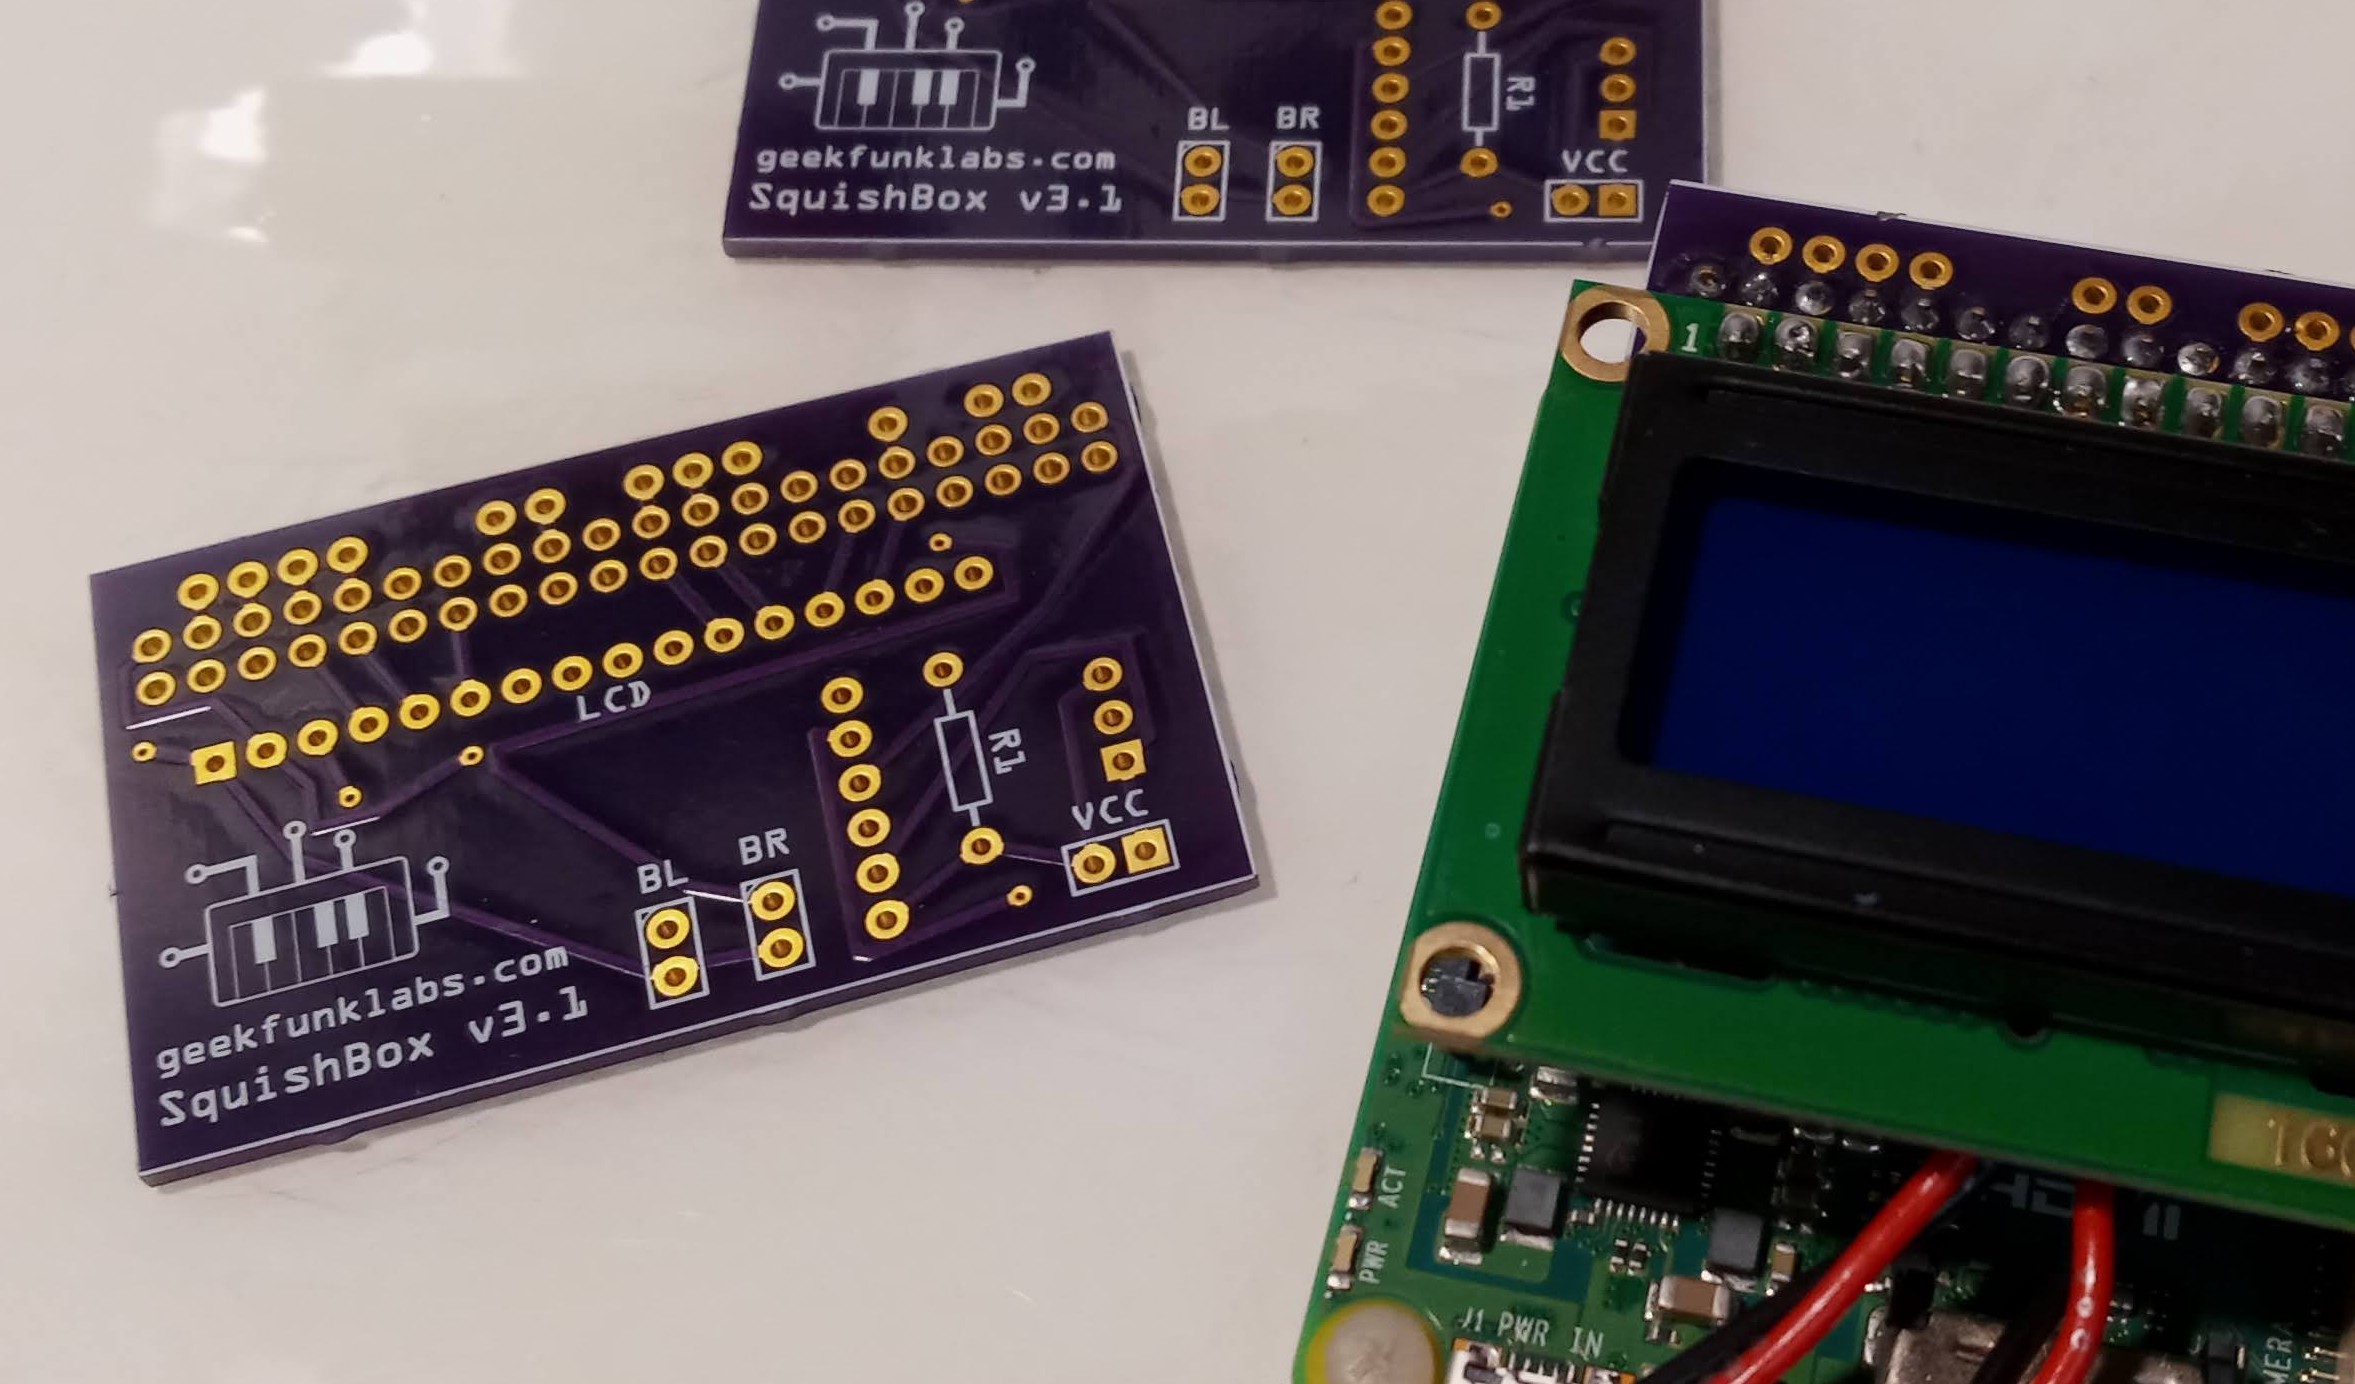
The PCB makes the next batch of SquishBoxes sturdier, cheaper, and considerably quicker to assemble. It also means I can offer the SquishBox as a kit for people who would rather do some of the building themselves. The kit will include the electronics and PCB, but leave the Raspberry Pi, enclosure, and power supply up to the builder.
I had three copies of my first PCB design made by OSH Park and put one together as a test. The basic board combines the Raspberry Pi interface, LCD, and audio hardware into a much tidier package than my previous point-to-point wiring. I assembled a prototype, hooked up the display and sound card, and ran it through a full synthesizer test. Everything worked, which is always a satisfying result for a first PCB.
Of course, getting a working prototype immediately gave me a list of things to change. The next revision adds edge solder pads for easier access to some connections, along with optional 9V-to-5V regulation in response to a user request. I also took the opportunity to get a little unnecessarily artistic with the placement of the vias. There are probably more practical uses for PCB real estate, but if you're going to stare at a circuit board for hours, it might as well look good.
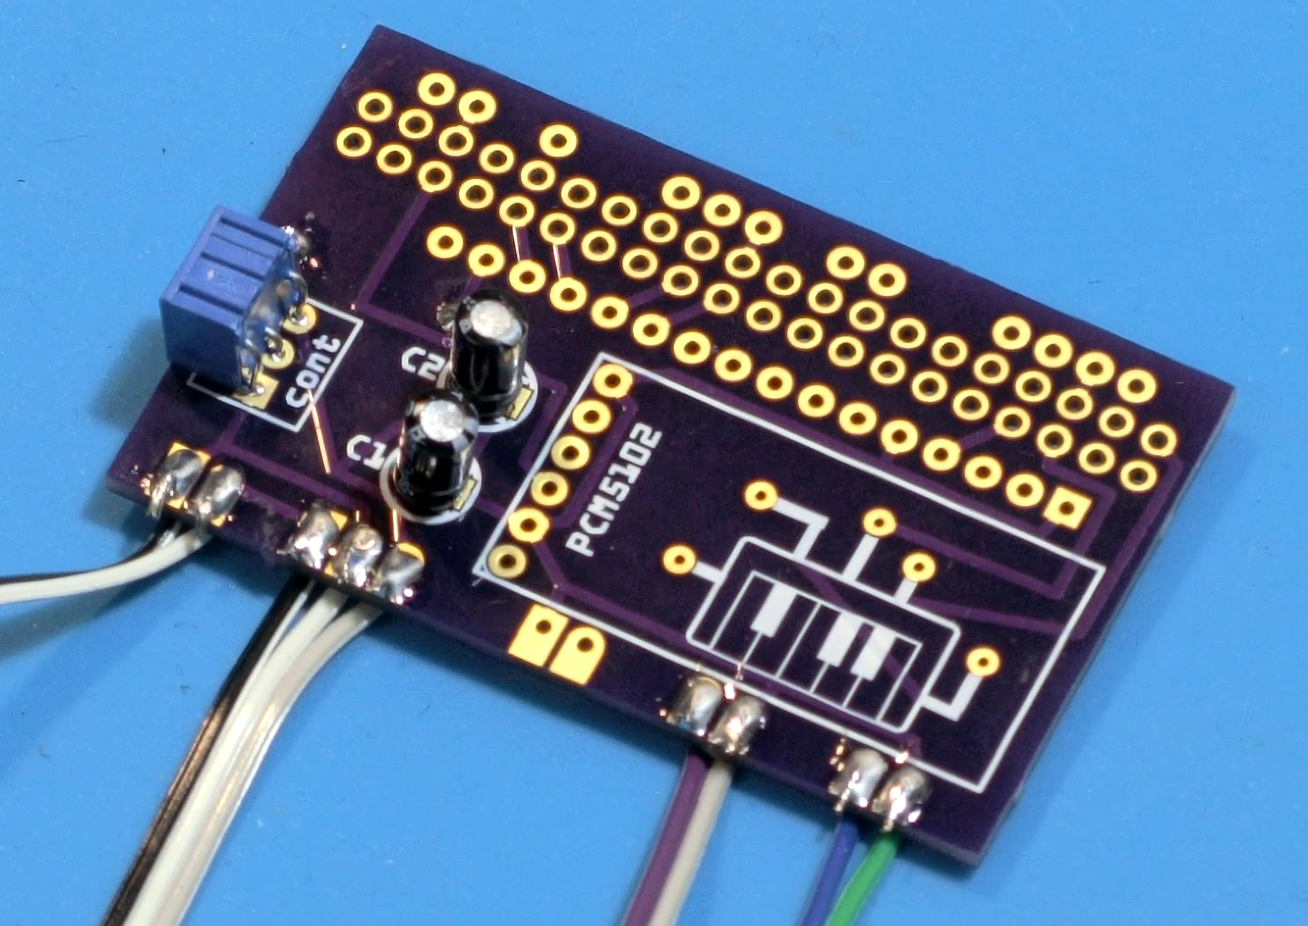
I also tested powering the board from 9V through an LM7805 regulator. It works, although the regulator gets warm enough to need a heatsink; fortunately, the enclosure itself makes a perfectly adequate one. Current draw is under 90 mA, so the whole thing remains a pleasantly small and simple piece of hardware.
This feels like a pretty significant step for the SquishBox. The first ones proved that the idea works; now I'm figuring out how to build them without having to hand-wire every single one.